Rimple Messenger Bag CAL Part 4
- Regina P

- Nov 17, 2024
- 3 min read
Welcome to part 4! Please join the "Crochet-A-Long with Us!" Facebook group so you can show off your projects & get help!

Abbreviations(US Terms):
CH = Chain
SK = Skip
ST = Stitch
sts = Stitches
SL= Slip Stitch
SC = Single Crochet
HDC = Half Double Crochet
DC = Double Crochet
REMINDER:
- SIGN IN to receive e-mail notifications when the next section is ready to view.
- create a Ravelry project to show off your progress & add a favorite heart to the pattern.
- join Regina P Designs Official Group on Facebook to show off your work and ask questions if needed.
- follow me on Instagram and use #reginapdesigns when showing off your progress
- SPREAD THE WORD!! Please tell your crochet loving friends so they can get in on this CAL too!! You can share posts from my Facebook page.
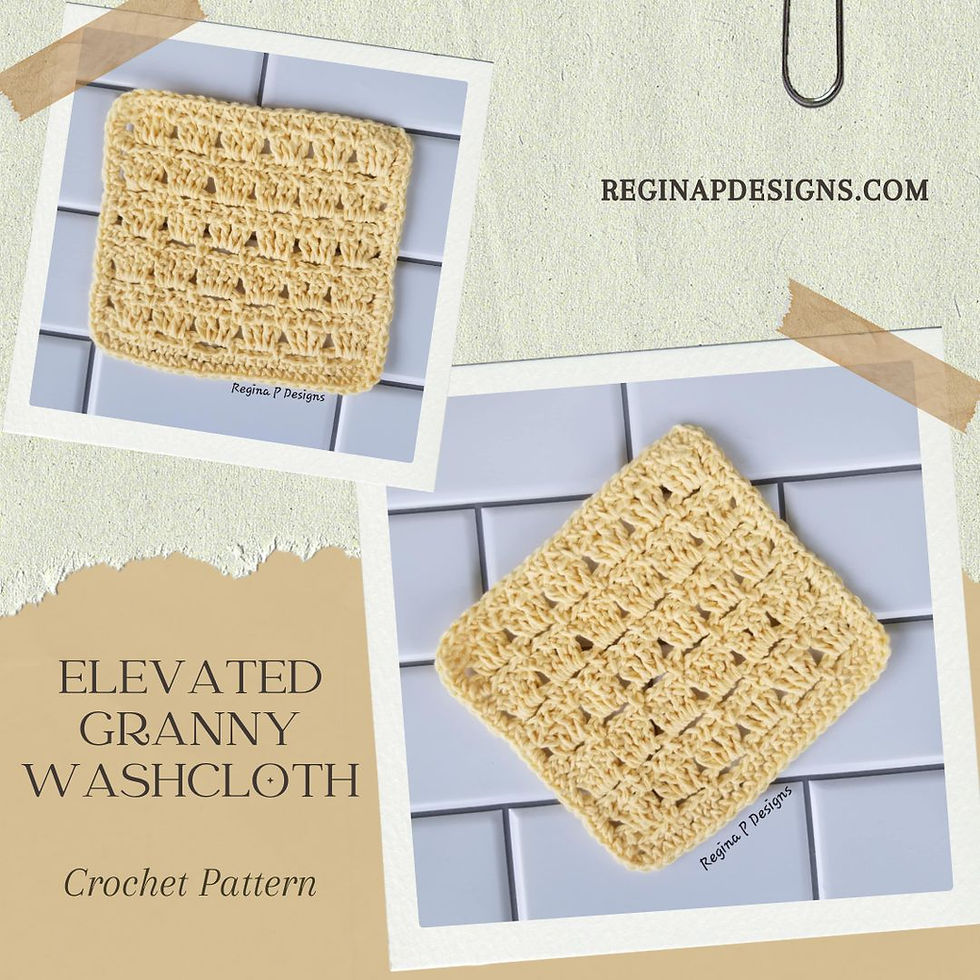
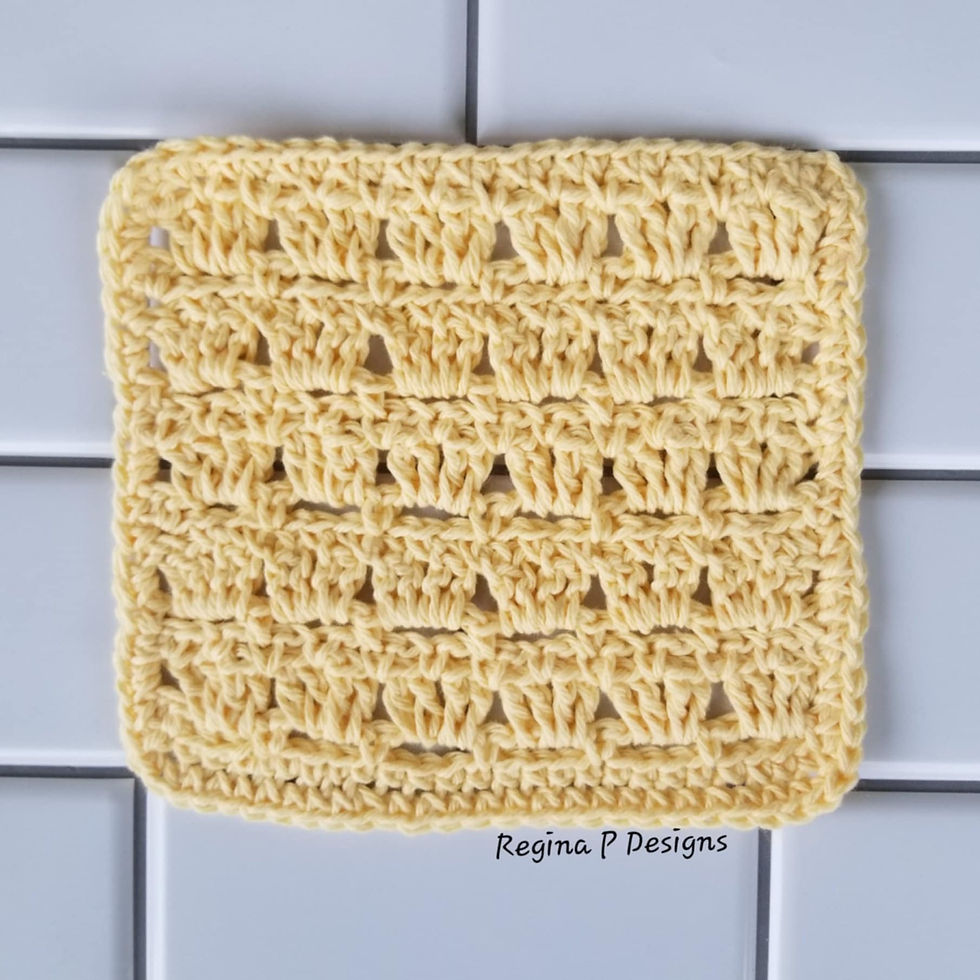
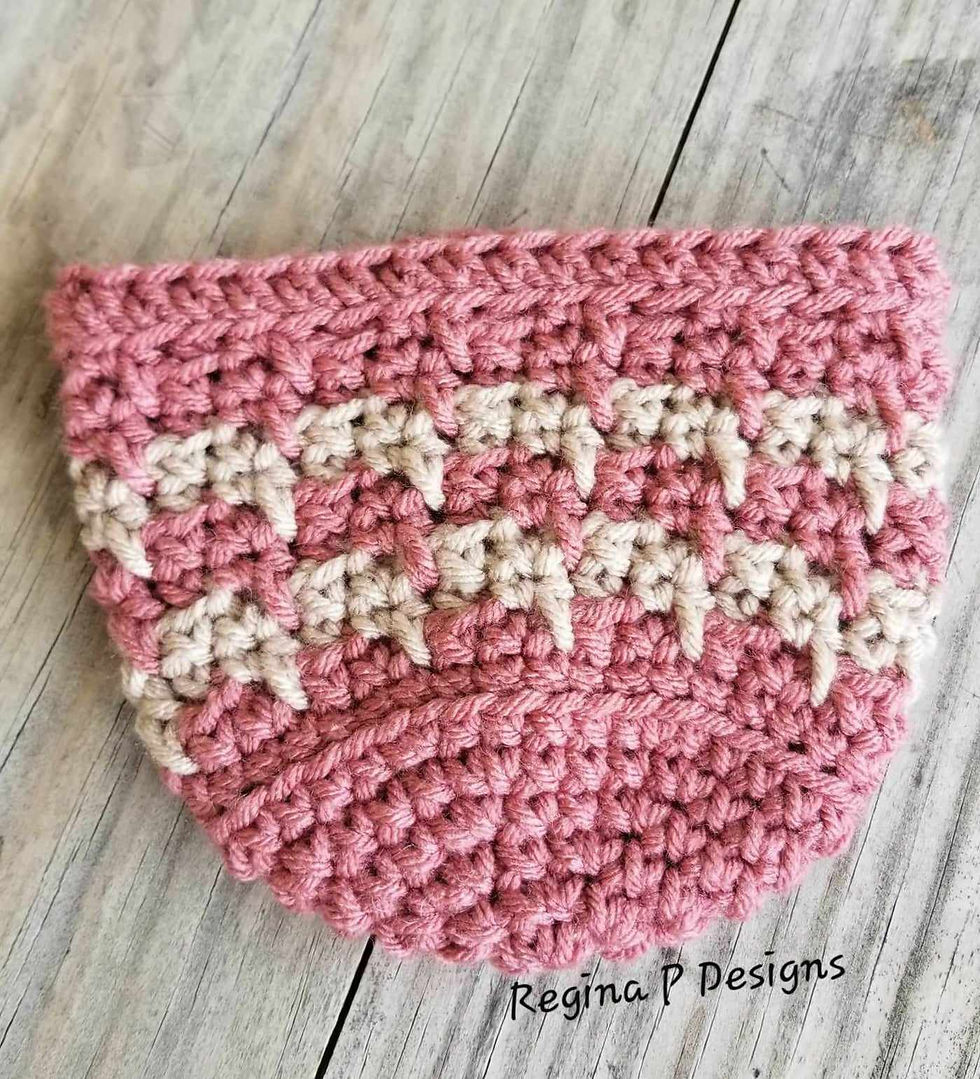
NOTES: The CH 1 at the beginning of each row does NOT count as a Stitch. You will be placing one stitch in each stitch across. A tighter tension is needed for this stitch pattern. Check out the tutorial for this stitch pattern(not the bag) on my YOUTUBE channel for help: https://youtu.be/yqxAw9cmjoo
In Part four we will be putting all these pieces together and finishing this CAL up!
Lay your shorter front panel right side up. Line up the seam of your strap(right side facing your front panel) with the bottom center of the front panel and attach with a stitch marker. Working out from the center, use stitch markers to connect the strap to your front panel across the bottom and all the way up each side.
Triple check your placement before stitching. Make sure that the right sides of both pieces are touching. Using a separate piece of yarn, whip stitch both pieces together.


Next line up your longer back panel corners first(fronts of panels facing each other). Use stitch markers to attach the strap to the Back panel before seaming. Using a separate piece of yarn, whip stitch both pieces together. Only stitch up to ROW 29 to match the front panel. The rest of the rows on the back panel will be the flap/closure for your bag.

Make sure to weave in all of your ends before turning your bag right side out. Attach your button by lining it up with the button hole for the perfect placement.


YOU DO NOT HAVE TO PURCHASE THIS PATTERN TO JOIN THE CAL!!!
Just create a Ravelry Project with the name "RMBAG CAL" with your finished photos by November 19th, 2024, to be gifted this pattern for FREE!


If CALs aren't your thing but you just have to have this pattern it's available Here
or in my Ravelry Store!
DON'T FORGET to check out this month's
By taking part in this CAL you agree to the terms of use for Regina P Designs' patterns:
All Regina P Designs Patterns are for personal use only.
You are free to do as you wish with the finished products made from this pattern with the agreement that Regina P Designs will be credited for the pattern itself.
It is prohibited to: reproduce, copy(including screenshots), publish(in any Form including video) or distribute this pattern, its parts or photos in any way or form, including translations into foreign languages.
Thank you,
Regina P.









Comments