Beanie Bell Ornament Crochet Pattern
- Regina P

- Jul 29, 2025
- 3 min read
Another super cute ornament in my newest Christmas Ornaments Ebook is this simple and quick Granny Christmas Tree. I used up a ton of scraps whipping these up for the 2024 season.

These super cute little beanies work up quick and jingle to boot! Feel free to use any WW4/Aran/10ply yarn you like to create these adorable little scrap busters. Finished ornament should measure approx. 2” tall not counting the pompom on top.
By purchasing/downloading this pattern, you agree to the terms of use:
-All Regina P Designs Patterns are for personal use only.
-It is prohibited to: reproduce, copy, publish(in any Form including video) or distribute this pattern, its parts or photos in any way or form, including translations into foreign languages.
-You are free to do as you wish with the finished products made from these patterns with the agreement that Regina P Designs will be credited for the pattern itself & you take on the responsibility as the manufacturer of your tangible creation.
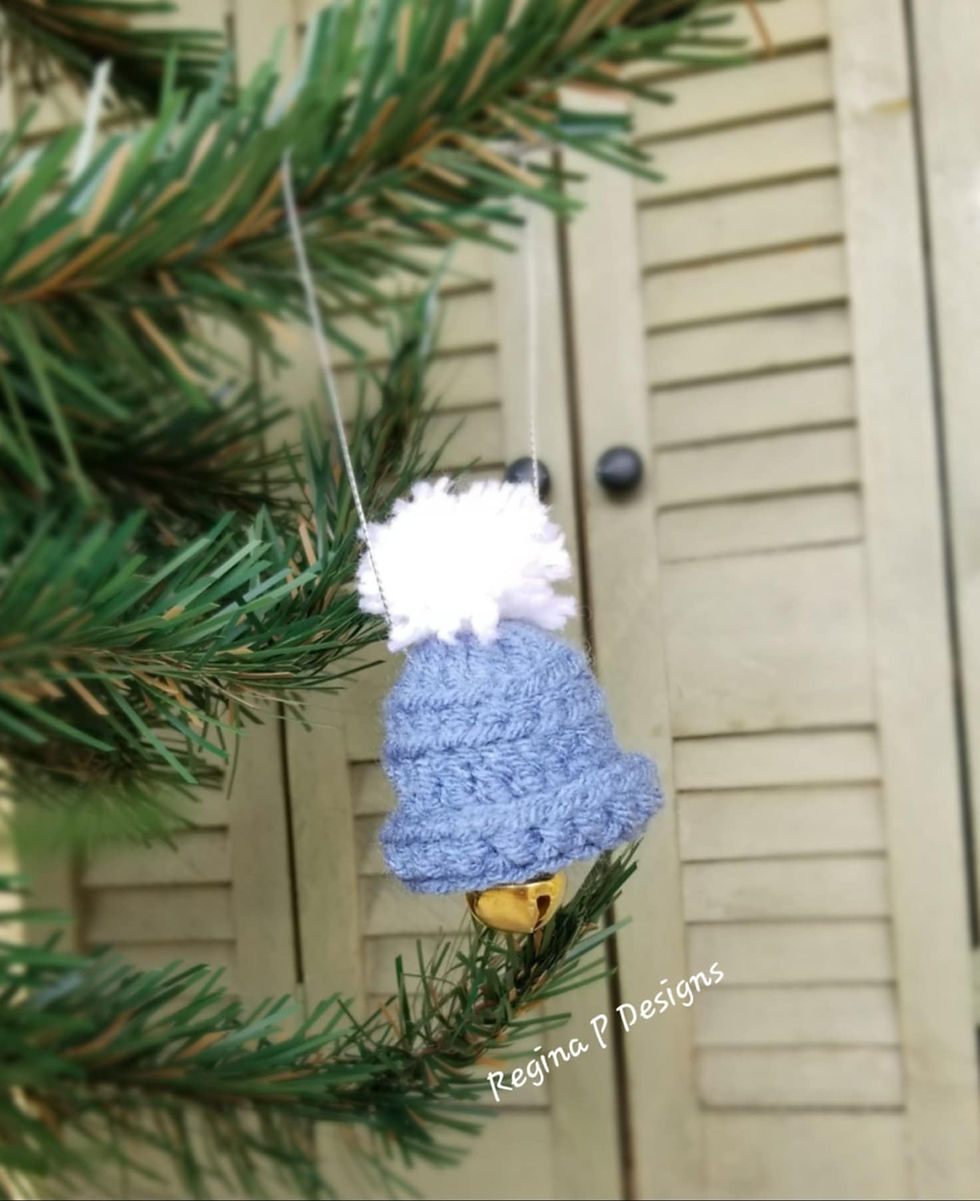
Here's what you'll need to get started.......
Materials:
Premier Basix Yarns(approx. 25 yds)
H(5 mm) Hook
Scissors
Needle
3/4” Bell
Abbreviations(US Terms):
SK = Skip
sts = Stitches
ST = Stitch
SL= Slip Stitch
MR = Magic Ring
CH = Chain
SC = Single Crochet
HDC = Half Double Crochet
BLO = Back Loop Only
NOTES: Finished ornament should measure approx. 2” tall not counting the pompom on top. If you would like to add a stripe, change color for row 2 and use the same color for row 5 to create a matching brim.
To begin create a MR leaving a longer tail to use later.
ROUND 1: CH 3(counts as a DC), place 17 DC in your MR, SL to the top of your beginning CH 3 to connect
ROUND 2: CH 1(does not count as a ST), BLO SC around(18), SL to your beginning SC to connect
ROUNDS 3 & 4: CH 1(does not count as a ST), BLO HDC around(18), SL to your beginning HDC to connect
ROUND 5(Brim): CH 1(does not count as a ST) & TURN, BLO HDC around(18), SL to your beginning HDC to connect. Cut, tie off & weave in your ending tail.
Fold your beanie so that the seam runs up the back center. Flip Round 5 up to create your hat brim.
Create a small 1”- ish pom pom and attach it to the top of your beanie. I like to just wrap my yarn around the prongs of a fork about 30 times and use another strand fed through the center to tie it off, then just trim it down to the correct shape & size I need.

Use your starting tail to attach a bell to the inside of your beanie. Attach a hanger however you like to create this cute little Beanie Bell Ornament.


DON'T FORGET to check out this month's







Comments