
Search
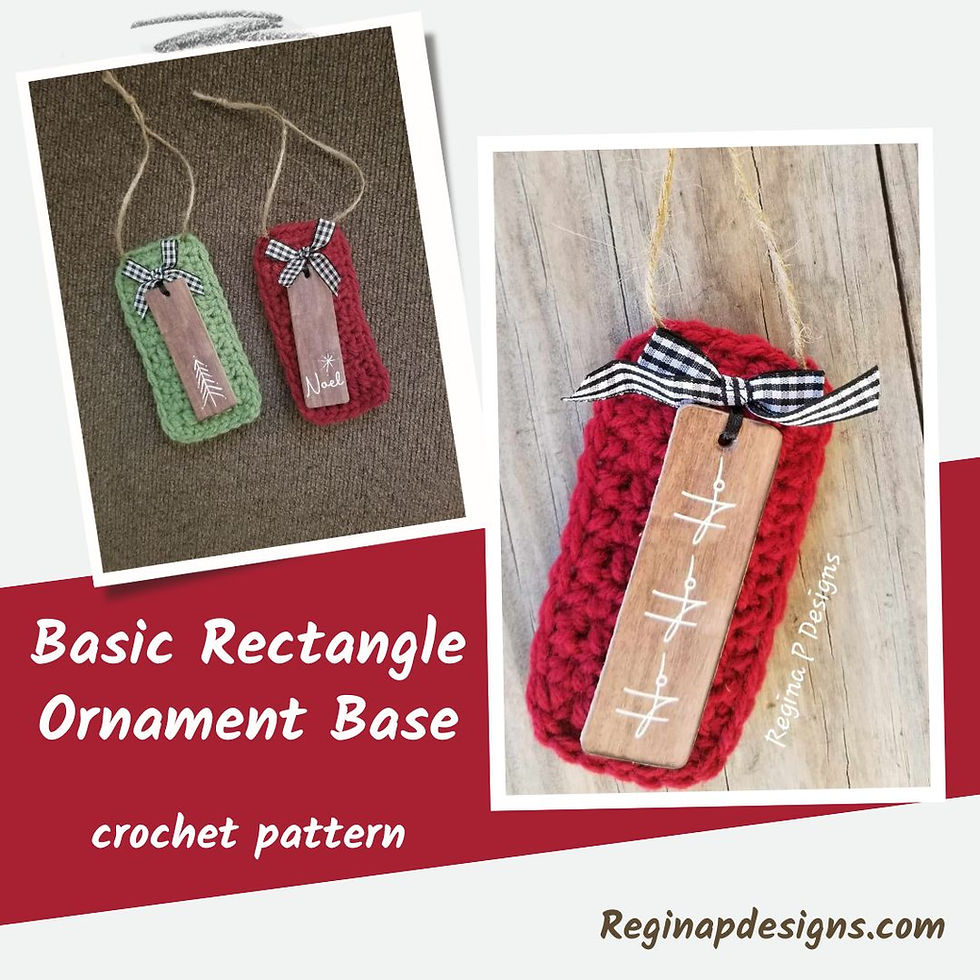
Basic Rectangle Ornament Crochet Pattern
- Regina P

- Nov 2, 2023
- 3 min read
Updated: Mar 24
When one of my Superhero Testers alerted me to these super cute ornaments that I could purchase in mass quantities at Walmart I couldn't resist. I sent my hubby on a mission to grab as many possible, which resulted in multiple picture texts of ornaments for my approval and a big bag full of them. Then I had to figure out what to do with them.
I came up with a couple options and tested them out at my big Country Crafters Event that year. To my delight they were received enthusiastically, and I ended up having to make a bunch more and restock on day 2 & 3!
A few years later and people still love them. Grab yourself some other embellishments like little bows and some jute twine while you are out snagging some ornaments, then grab your yarn scraps and start making up some of your own!

Here's what you'll need to get started.......
Materials:
Caron One Pound in Any Color(approx 22 yds)
H(5 mm) Hook
Scissors
Needle
Jute Twine(approx. 12” long)
Accent of Choice
Abbreviations(US Terms):
ST = Stitch
sts = Stitches
SL= Slip Stitch
CH = Chain
SC = Single Crochet
HDC= Half Double Crochet
NOTES: Finished ornament should measure approximately 4.75” by 2.5”.
To begin CH 7 ROW 1(RS): HDC in the 2nd CH from your hook and in each CH across(6)
ROWS 2-10: CH1(does not count as a ST) & turn, HDC in each ST across(6)
Cut & tie off your first panel.
Make a 2nd panel exactly the same but do not cut your yarn. Attach your accents to the front of your 2nd panel before continuing on.


CH 1 & turn, lay your 2nd panel on top of your 1st panel wrong sides together. Hide your tails between the 2 panels. Working through both panels at once, seam the 2 panels together as follows:
SC in each ST across the top(6), CH 1 & rotate to work along the row ends, evenly space 11 SC sts across the side, CH 1 & rotate to work along the starting CH, SC in each CH across(6), CH 1 & rotate to work along the row ends, evenly space 11 SC sts across the side, CH 1, SL to your first SC to connect.

Cut, tie off and weave in your final end. Attach your Jute twine or whatever hanger you like to the top corners, and you're done.


Check out more Christmas Ornament Crochet Patterns HERE!
DON'T FORGET to check out this month's


Comments