
Christmas Cake Plush Crochet Pattern
- Regina P

- Jun 30, 2025
- 3 min read
Updated: Mar 20
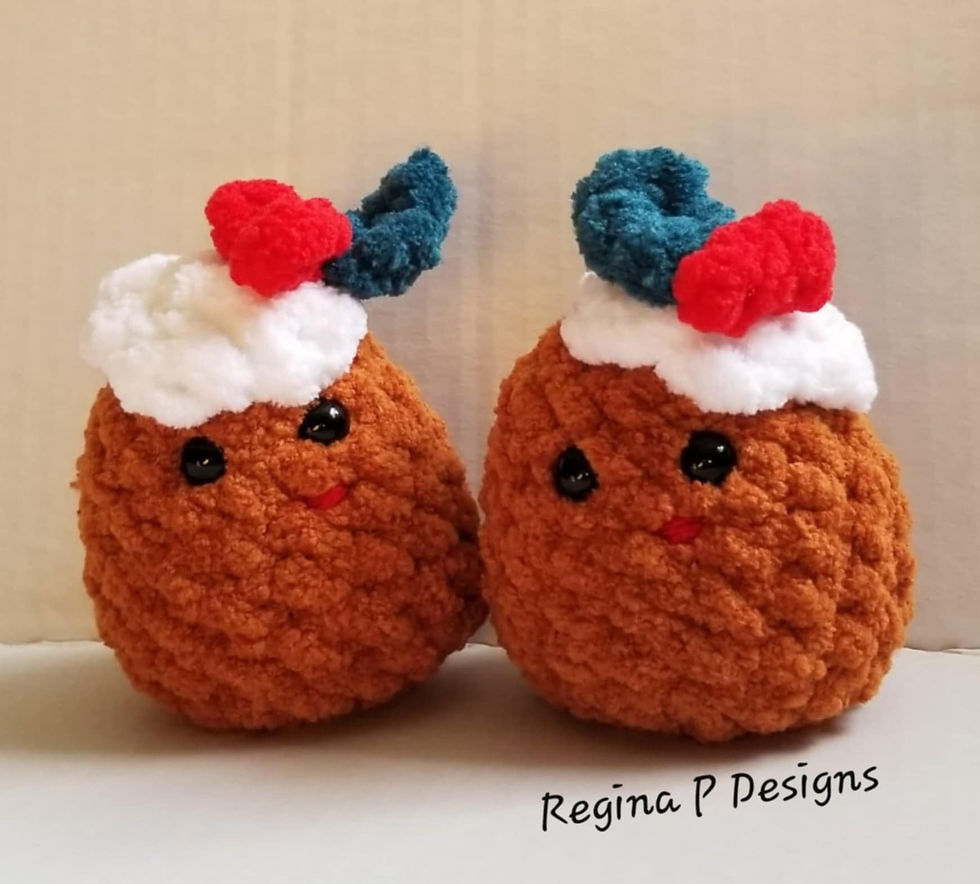
This cuddly little holiday cake is just perfect for a last-minute stocking stuffer, ornament, or book bag charm for the holidays. This pattern is worked from the top down, creating all the accents first, then working the cake portion, putting them together and finishing up the cake at the end.

By Regina Pastrano
By purchasing/downloading/following this pattern, you agree to the terms of use:
-All Regina P Designs Patterns are for personal use only.
-It is prohibited to: reproduce, copy, publish(in any Form including video) or distribute this pattern, its parts or photos in any way or form, including translations into foreign languages.
-You are free to do as you wish with the finished products made from these patterns with the agreement that Regina P Designs will be credited for the pattern itself & you take on the responsibility as the manufacturer of your tangible creation.
Here's what you'll need to get started....
Materials:
Premier Basix Chenille Brights Super Bulky in Rust, White, Poppy & Emerald (approx. 28 yds total)
A very small amount of WW4/Aran/10Ply red yarn for the mouth
H(5 mm) Hook
Scissors
Needle
6mm Safety Eyes
Poly-Fil Stuffing
Abbreviations(US Terms):
MR = Magic Ring
SLTC = Slip Stitch to your first SC to connect
sts = Stitches
ST = Stitch
SL= Slip Stitch
CH = Chain
SC = Single Crochet
HDC = Half Double Crochet
DEC = Invisible SC the next 2 sts together
NOTES: Make the items in the order listed. Your finished plush should measure approx. 3” tall depending on your tension and placement of the accents.
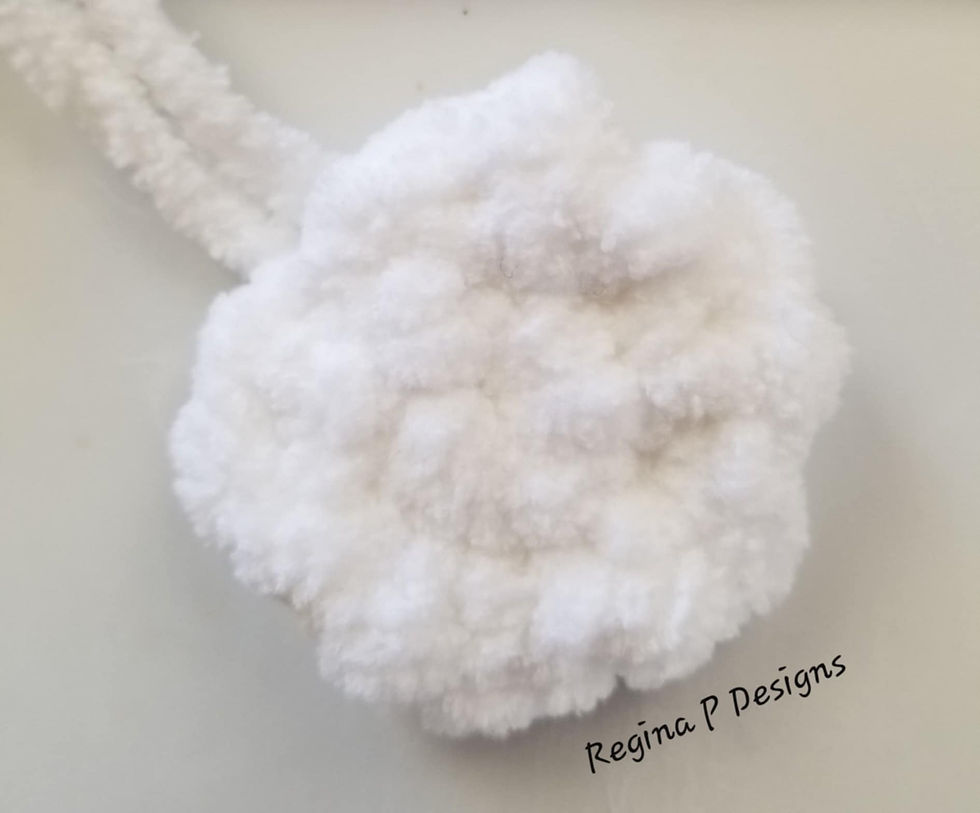
Frosting:
To begin create a MR with white
Round 1: place 10 SC in your MR, SLTC
ROUND 2: CH 1(does not count as a ST), repeat (place SC+CH1+SC in the next ST, SL in the next) 5 times. Cut leaving a longer tail and tie off.
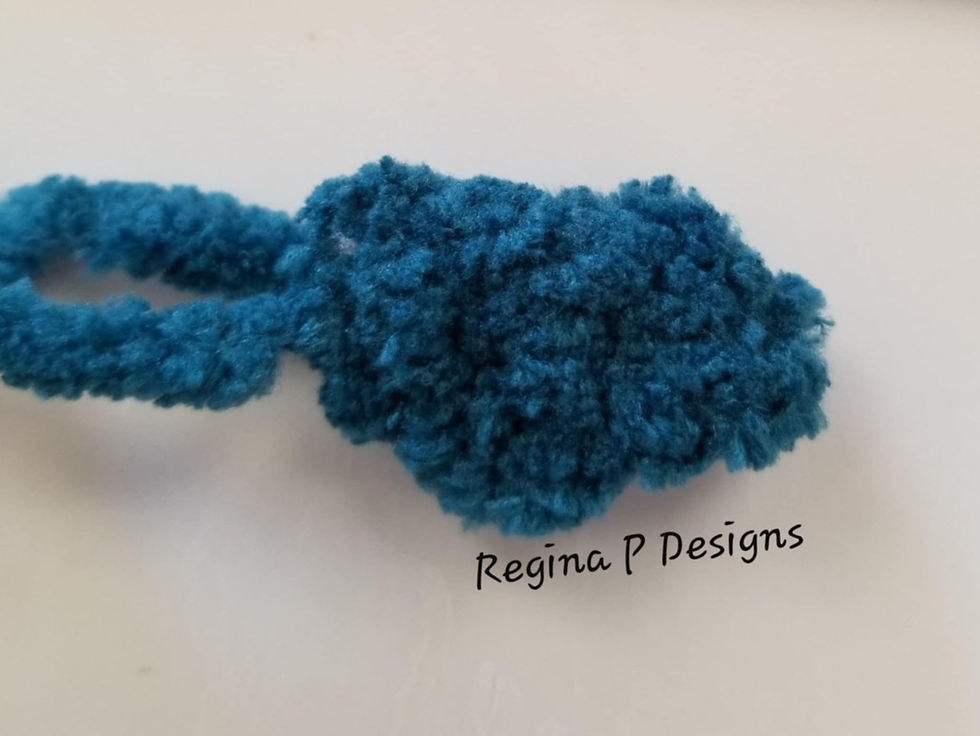
Leaf:
To begin CH 4 with emerald.
Place a SC in the 2nd CH from your hook, HDC in the next 2 sts. Cut, tie off, and knot the 2 tails together.
Berries:
with red CH 3 & SL to your 1st CH to connect, CH 3 again and SL again in the same CH as your 1st SL. Cut & tie off. Wrap one of your tails around the center and then knot the 2 tails together.

Cake:
To begin create a MR with rust
Round 1: place 8 SC in your MR
ROUND 2: place 2 SC in each ST around(16)
ROUNDS 3-9: place 1 SC in each ST around(16 sts x 7 rounds)
Stop here but do not cut your working yarn. Attach your leaf to the top of your frosting first, then feed the tails of the berries through both the leaf and the frosting.


Feed all of your tails through the top of your cake except for your long frosting tail. Sew the frosting to the top of your cake all around & feed your tail inside the cake. Turn your cake inside out and tie all the tails together.


I recommend stuffing the cake to decide where to place the eyes, then remove the stuffing and attach them. Use the small amount of regular red yarn to create a line for your mouth.


Now stuff your cake and continue on to finish up the cake portion.
ROUND 10: DEC 8 times, SL to the next ST, cut & tie off leaving a longer tail.
Add any more stuffing you may need, but make sure the bottom is able to sit flat. Weave in & out of the FLO around your last 8 sts. Cinch the hole shut tight, tie off and hide your tail inside.


DON'T FORGET to check out this month's


Comments