Triangle Pouch CAL Part 3
- Regina P

- Aug 6, 2024
- 2 min read
Welcome to part 3! Please join the "Crochet-A-Long with Us!" Facebook group so you can show off your projects & get help!

If you didn't already grab your supplies, here's what you will need to get started......
Materials:
Lion Brand Mandala Ombre yarn(approx. 50 yds)
G(4.25 mm) Hook
Scissors
Needle
Button(3/4” or 20mm)
Stitch Markers
Alligator Clasp or Keyring
Abbreviations(US Terms):
SK = Skip
sts = Stitches
ST = Stitch
SL= Slip Stitch
CH = Chain
SC = Single Crochet
HDC = Half Double Crochet
Reminder:
- SIGN IN to receive e-mail notifications when the next section is ready to view.
- create a Ravelry project to show off your progress.
- join Regina P Designs Official Group on Facebook to show off your work and ask questions if needed.
- follow me on Instagram and use #reginapdesigns when showing off your progress
- SPREAD THE WORD!! Please tell your crochet loving friends so they can get in on this CAL too!! You can share posts from my Facebook page.
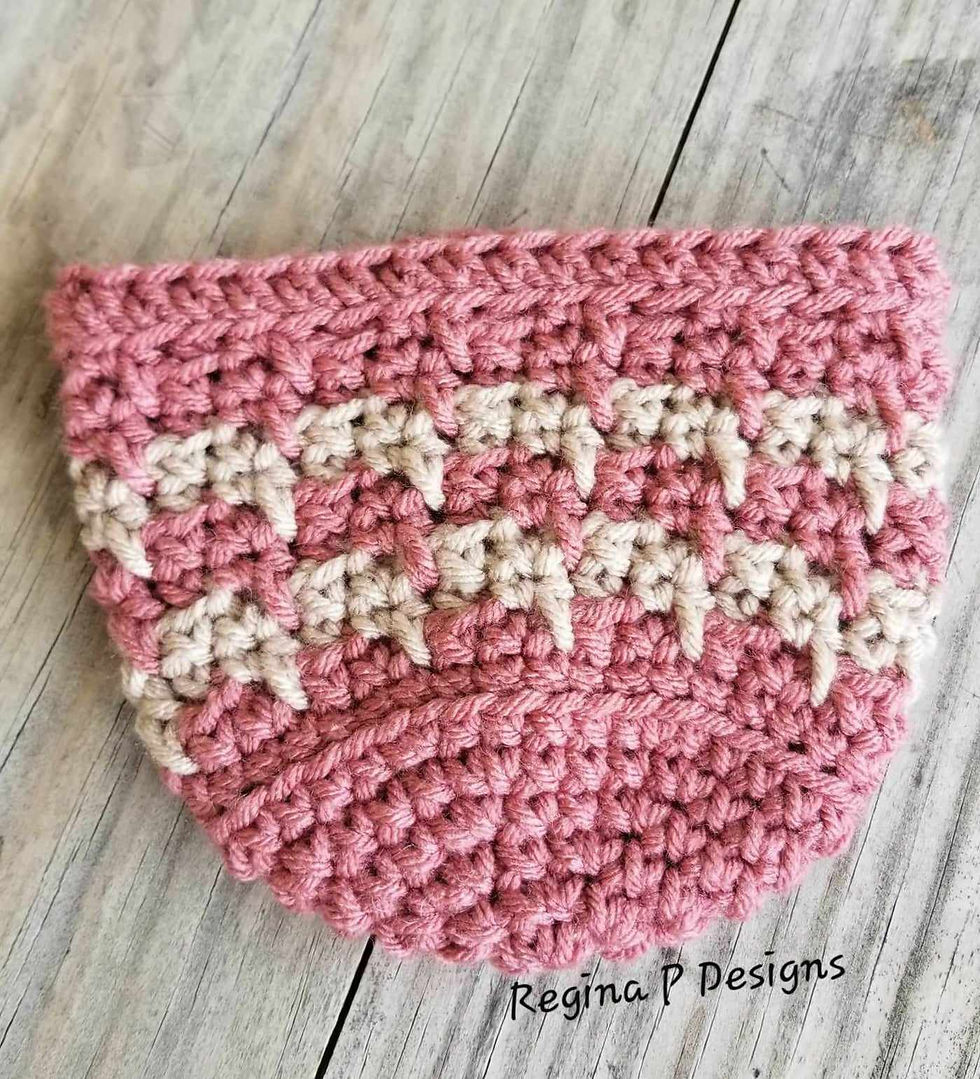
NOTES: Finished measurement should be approximately 4.5” tall.
CONSTRUCTION
CH1 & TURN
Place your flap panel on top of your back panel wrong sides together.

Working through both loops of your flap panel and the back loop only of the back panel, SL the first 11 sts together.

Now flip your flap open & place your front panel on top of your back panel wrong sides together.

Now working through the front panel and the back panel at the same time to seam them together, place 3 SC in the CH SP. SC the corresponding sts together up to the next CH SP(17).

Place 3 SC in the next CH SP & SC the corresponding sts together up to the next CH SP(17), place 3 SC in the last CH SP. Flip your flap back down and continue working through both loops of your flap panel and the back loop only of the back panel, SL the last 6 sts together.

Cut, tie off & weave in your remaining ends.
Attach a button to about round 4 of your front panel, or where ever your button hole from the flap lines up the best. Attach a key chain ring or an alligator clasp or leave it as is.


Create a Ravelry Project with the name "TPouch Quickie CAL" with your finished photos by August 10th, 2024, to be gifted this pattern for FREE!

DON'T FORGET to check out this month's
By taking part in this CAL you agree to the terms of use for Regina P Designs' patterns:
All Regina P Designs Patterns are for personal use only.
You are free to do as you wish with the finished products made from this pattern with the agreement that Regina P Designs will be credited for the pattern itself.
It is prohibited to: reproduce, copy(including screenshots), publish(in any Form including video) or distribute this pattern, its parts or photos in any way or form, including translations into foreign languages.
Thank you,
Regina P.


Comments