Triangle Pouch CAL Part 2
- Regina P

- Aug 5, 2024
- 3 min read
Welcome to part 2! Please join the "Crochet-A-Long with Us!" Facebook group so you can show off your projects & get help!

If you didn't already grab your supplies, here's what you will need to get started......
Materials:
Lion Brand Mandala Ombre yarn(approx. 50 yds)
G(4.25 mm) Hook
Scissors
Needle
Button(3/4” or 20mm)
Stitch Markers
Alligator Clasp or Keyring
Abbreviations(US Terms):
SK = Skip
sts = Stitches
ST = Stitch
SL= Slip Stitch
CH = Chain
SC = Single Crochet
HDC = Half Double Crochet
Reminder:
- SIGN IN to receive e-mail notifications when the next section is ready to view.
- create a Ravelry project to show off your progress.
- join Regina P Designs Official Group on Facebook to show off your work and ask questions if needed.
- follow me on Instagram and use #reginapdesigns when showing off your progress
- SPREAD THE WORD!! Please tell your crochet loving friends so they can get in on this CAL too!! You can share posts from my Facebook page.
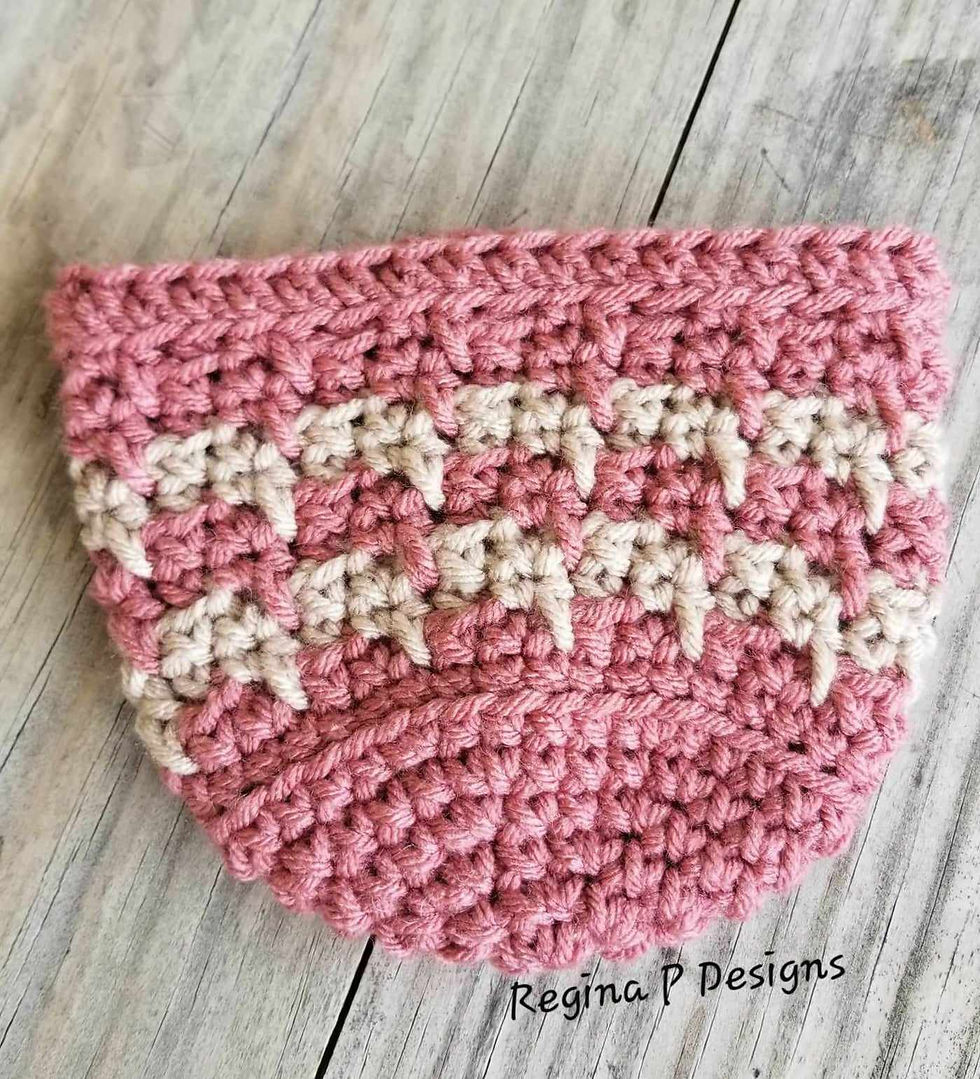
NOTES: Finished measurement should be approximately 4.5” tall.
FLAP
To begin CH 3 & SL to your beginning CH to connect & create a loop,
**place ST markers in your CH1 corner points!
ROUND 1: CH 1(does not count as a ST), place 5 SC in the loop, repeat(CH1, place 3 SC in the loop) twice, CH 1, SL to your first SC to connect
ROUND 2: CH 1(does not count as a ST), SC in the first 5 sts, HDC/CH1/SC in the CH SP, SC in the next 3 sts, SC/CH1/SC in the CH SP, SC in the next 3 sts, SC/CH1/HDC in the CH SP, SL to your first SC to connect
ROUND 3: CH 1(does not count as a ST) & TURN, SC in the first ST, repeat(SC/CH1/SC in the CH SP, SC in the next 5 sts) twice, SC/CH1/SC in the CH SP, SC in the last 6 sts, SL to your first SC to connect
ROUND 4: CH 1(does not count as a ST) & TURN, SC in the first 7 sts, repeat(SC/CH1/SC in the CH SP, SC in the next 7 sts) twice, SC/CH1/SC in the CH SP, SC in the last 2 sts, SL to your first SC to connect
ROUND 5: CH 1(does not count as a ST), & TURN, SC in the first 3 sts, HDC/CH1/SC in the CH SP, SC in the next 9 sts, SC/CH1/SC in the CH SP, SC in the next 9 sts, SC/CH1/HDC in the CH SP, SC in the last 8 sts, SL to your first SC to connect
ROUND 6: CH 1(does not count as a ST) & TURN, SC in the first 9 sts, SC/CH1/SC in the CH SP, SC in the next 11 sts, CH 3 & SK the CH SP to create your button hole,SC in the next 11 sts, SC/CH1/SC in the CH SP, SC in the last 4 sts, SL to your first SC to connect
ROUND 7: CH 1(does not count as a ST), & TURN, SC in the first 5 sts, HDC/CH1/SC in the CH SP, SC in the next 12 sts, 2SC/CH1/2SC in the CH SP, SC in the next 12 sts, SC/CH1/HDC in the CH SP, SC in the last 10 sts, SL to your first SC to connect
Do not cut & tie off!

Create a Ravelry Project with the name "TPouch Quickie CAL" with your finished photos by August 10th, 2024, to be gifted this pattern for FREE!

Come back tomorrow, August 6th, after 8 am(EST) for Part 3!
DON'T FORGET to check out this month's
By taking part in this CAL you agree to the terms of use for Regina P Designs' patterns:
All Regina P Designs Patterns are for personal use only.
You are free to do as you wish with the finished products made from this pattern with the agreement that Regina P Designs will be credited for the pattern itself.
It is prohibited to: reproduce, copy(including screenshots), publish(in any Form including video) or distribute this pattern, its parts or photos in any way or form, including translations into foreign languages.
Thank you,
Regina P.


Comments