
Search
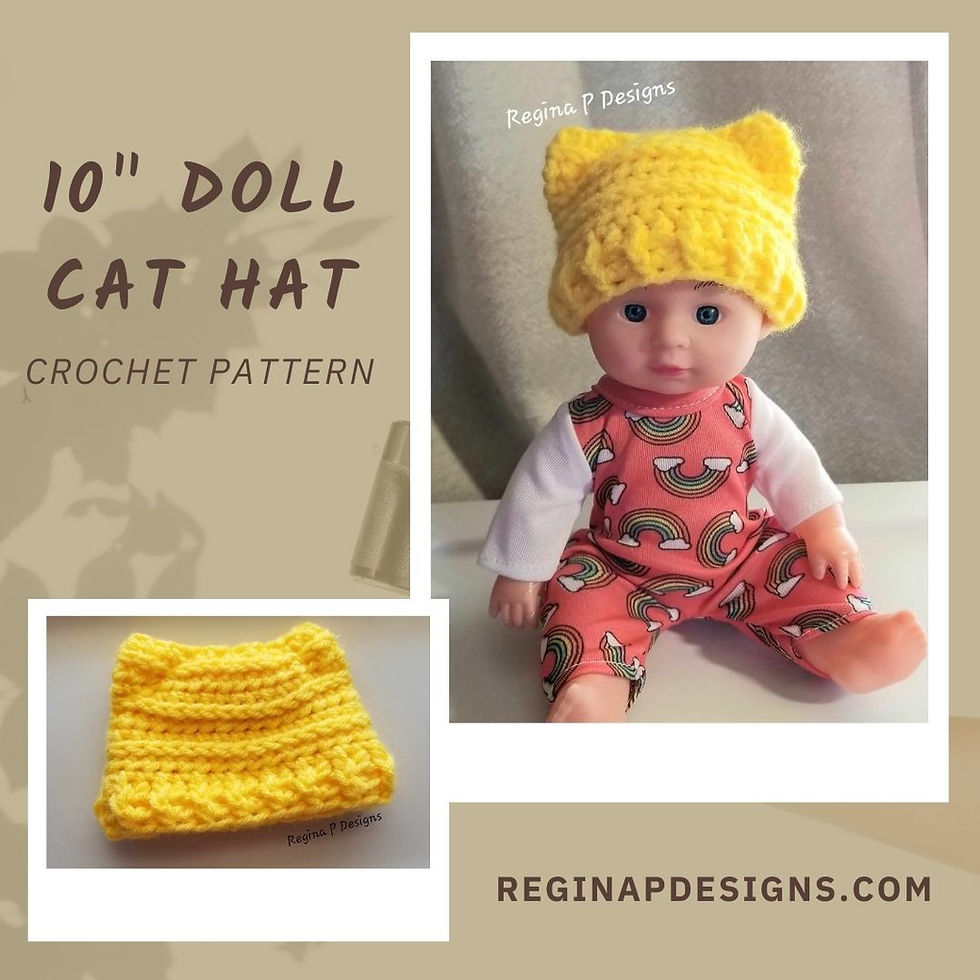
10" Doll Cat Hat Crochet Pattern
- Regina P

- Apr 9, 2024
- 3 min read
Updated: Mar 23
I've been working hard on creating cute little items for a bunch of 10" dolls I picked up for Operation Christmas Child shoeboxes. I absolutely love this mission and have been lucky enough to take part in it with my church for many years now.
This year I have jumped on board the organization team and am spending every moment I can gathering up goodies, making items, and encouraging others to do the same. So, to encourage and help all of you do the same I will be adding all my cute little patterns here on my blog over the months for you all to use too.
This hat should fit most any 10" doll with a 8.75" - 10" head circumference. I grabbed a bunch of these Toymazing Newborn Twin Dolls that came in a set of 2 for $5 from our local Family Dollar store that are just the right size. I plan to do as many as I can for the 5–9-year-old girls age group.


Here's what you'll need to get started.......
Materials:
Mainstays Yarn(approx. 25 yds)
H(5 mm) Hook
Scissors
Needle
Abbreviations(US Terms):
SK = Skip
sts = Stitches
ST = Stitch
SL= Slip Stitch
CH = Chain
SC = Single Crochet
HDC = Half Double Crochet
DC = Double Crochet
FBL = Front Bottom Loop
FP = Front Post
BP = Back Post
This hat is created working top down. I used Mainstays yarn scraps to create this pattern, but feel free to use whatever WW4/Aran/10 Ply yarn you have on hand as long as you can achieve the finished size of approximately 4.5” wide at the opening and 3” tall. You can adapt this hat for bigger doll heads by adding multiples of 2 to your starting chain and repeating round 8 as many times as needed to get height before continuing on to round 9.
To begin leave a LONG tail, CH 32 & SL to your beginning chain to create a loop.
ROUND 1: CH 1(does not count as a ST), HDC in each CH around, SL to your beginning HDC to connect(32)
ROUND 2: CH 1(does not count as a ST) & turn, FBL HDC in each ST around, SL to your beginning HDC to connect(32)

ROUND 3: CH 1(does not count as a ST) & turn, HDC in each ST around, SL to your beginning HDC to connect(32)
ROUND 4: REPEAT ROUND 2
ROUND 5: REPEAT ROUND 3
ROUND 6: REPEAT ROUND 2
ROUND 7: REPEAT ROUND 3
ROUND 8: CH 1(does not count as a ST), repeat(FP DC, BP DC) 16 times, SL to your beginning DC to connect(32)
ROUND 9: CH 1(does not count as a ST), repeat(FP SC, BP SC) 16 times, SL to your beginning SC to connect(32)
Cut, tie off, and weave in your ending tail. Flatten your hat so that the seam is running up the center of the back. *Use your starting tail to seam the top opening shut from the center to the fold on one side. Now work your way back over 4 sts and seam a diagonal line from the top down to your fold at round 5 & back up along the same line to the opening. Repeat from * for the other side. Weave your tail in on the inside of your hat.

So if you would like to help, and use up all your scrap yarn, you can come back here and whip up these hats any time. Check your local churches for a drop off location to donate your creations or pack up some boxes yourself. Keep a look out for more patterns coming soon too!
DON'T FORGET to check out this month's


Comments